Throwing a party sometime soon? Or just having some friends over and want to add a special touch? We didn’t want to use plastic stirrers, so since we had some cute straws we decided to use them, but wanted to add some “oomph.” We went back to our roots and did some DIY we used to do when we were younger and hadn’t done in a while: origami. In fact, we turned this DIY into a family project and had a blast. So much of a blast that we are still making origami shapes and gluing to straws… just for fun! 
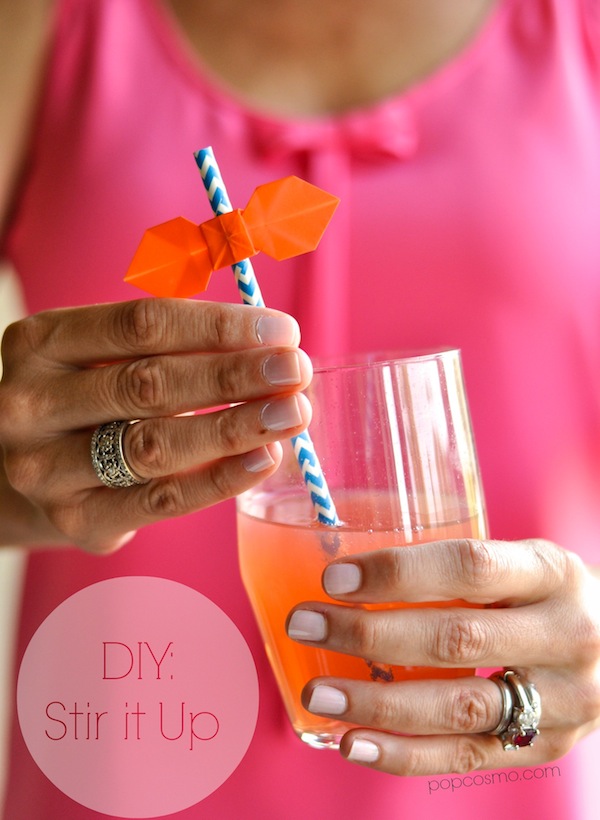
orange bow tie + blue straw
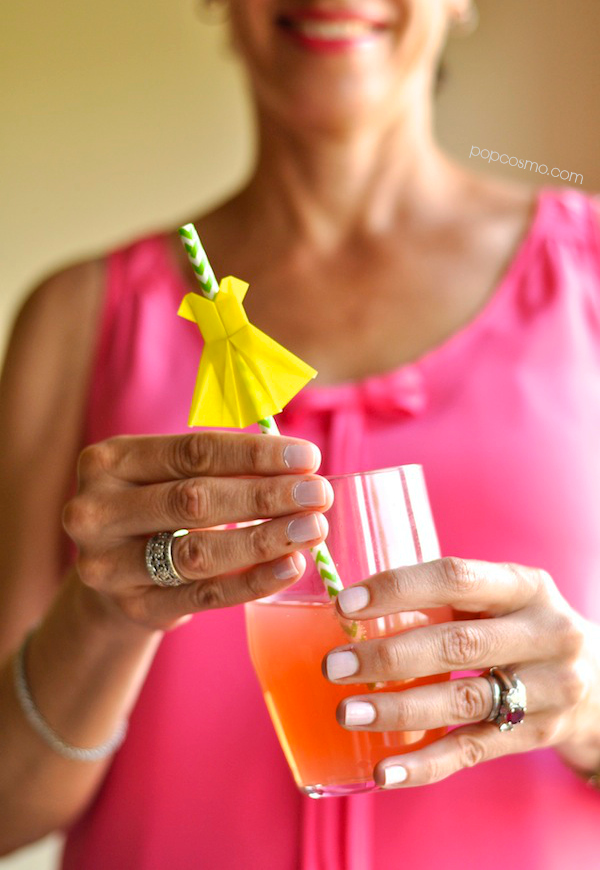
yellow dress + green straw
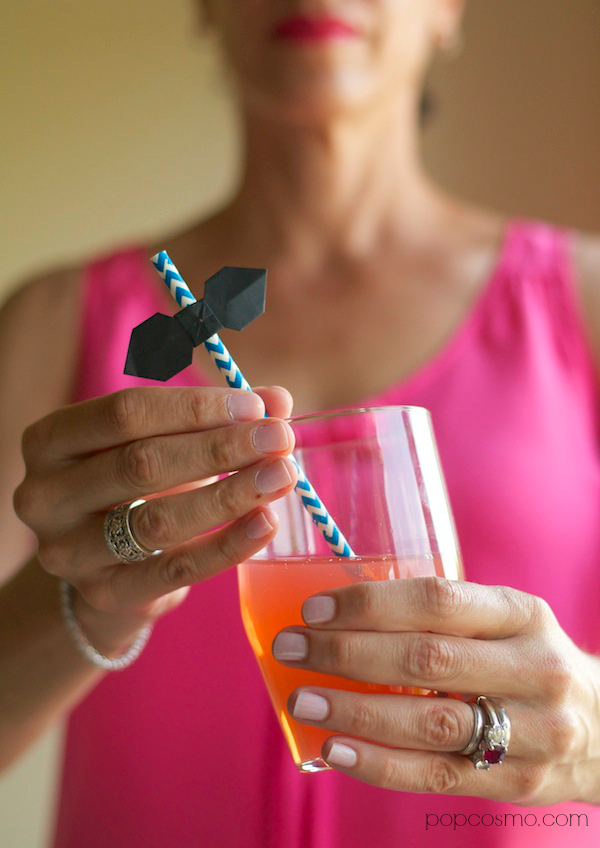
unadorned black bow tie
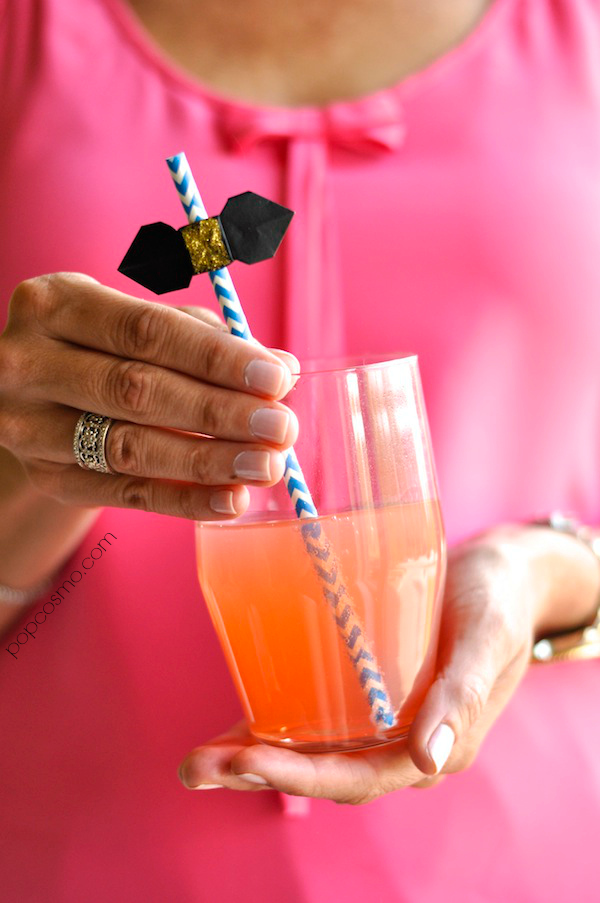
use craft glitter or nail polish to add some sparkle
We think our dress drink stirrers are perfect for a girls brunch, and the bow ties could also be hair ties… but also make a great boys’ bow ties! We’d use these drink stirrers (or swizzle sticks) for Prom parties, Graduation parties, Bar Mitzvahs, Bat Mitzvahs, Sweet 16s, Wedding Showers, Baby Reveal Showers… the list is truly endless. And the color choice is all yours.
Instructions for making the bow tie and dress are below. We chose a color combination we liked, but as I said, any colors would work depending on your party scheme! Have fun making and pairing colors for your event… or just to make an event out of a meal at home!
Bow Tie Video How-To:
Steps:
1. Use a rectangular piece of paper and fold it in 1/2, then unfold.
2. Fold each corner into the middle line.
3. Fold the long top and bottom sides to meet the center line.
4. Fold in half sideways.
5. Fold the right corners to meet the center line and unfold.
6. Fold in half again, pinching the middle part together along the creases you’ve made.
7. Unfold the upper flap, creasing it from the top right corner to the bottom right corner.
8. Fold the left flap backward, bringing together the left and the right corners of the item.
9. Fold the upper layers of the left corners to meet the center line.
10. Fold the left corners backward to meet the center line.
11. Unfold and expand the central part.
12. Your bow tie is finished!
Dress Video How-To:
via Howcast


