Popcosmo

DIY

Striped Pumpkin

All, DIYKim & Chloe9 Comments
6.jpeg

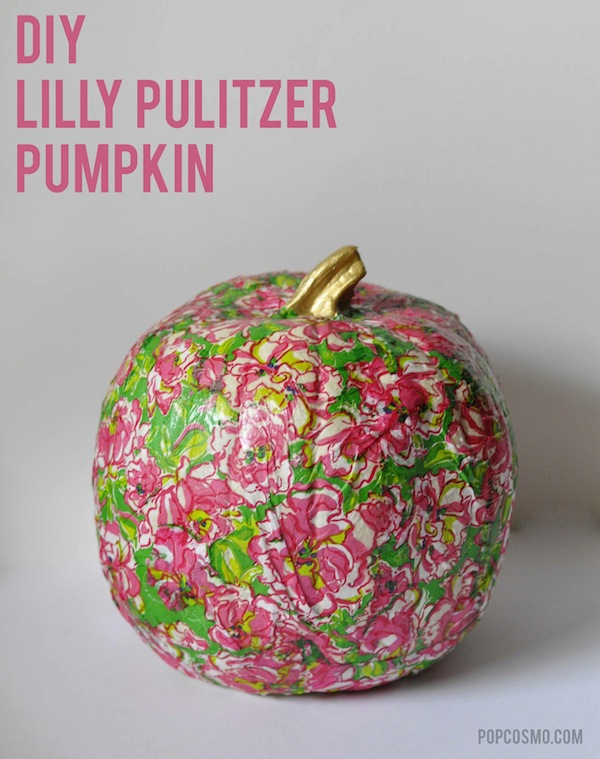
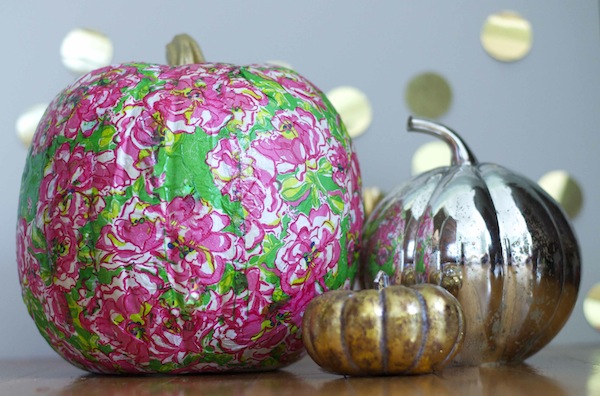
Thanks to BuzzFeed (yeah, that BuzzFeed!) for featuring the 1st pumpkin on their front page and also for the super chic ladies at The Chic Site for sharing our interview with their readers. On The Chic Site, you can get the scoop on how we work together, what inspires us, and what leads to arguing {hey, we're human}! But back to pumpkins.... We're enjoying the ease and simplicity of decorated no-carve pumpkins this year! While our pink & green Lilly Pulitzer pumpkin is an option, we also wanted a more traditional black and orange pumpkin, but with a twist, so we decided on a striped pumpkin, which we think is more modern and striking. Plus, it's simple and finished in under and hour. The lure of the design, like the Lilly Pulitzer pumpkin, is that the only limit is your creativity. Like spiders? Use a spider ribbon or washi tape and embellish with spiders. Like skulls? Go crazy with them! It's all up to you. We kept it clean and simple with black, white & gold while letting the orange peek through... and you know how much we like hearts.
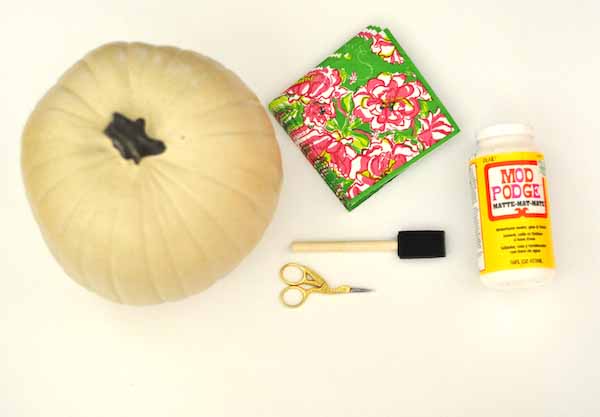
Striped Pumpkin

Supplies:

1 craft pumpkin (not pictured) carving knife pencil paint brush gold paint Modge Podge scissors gold glitter paper ribbon in black and white pattern {tip: choose a lightweight ribbon -works best- or a non-sheer patterned washi-style craft tape}

sriped pumpkin supplies

Instructions

1. With your pencil, mark the area where you will carve the top of the pumpkin. Use your craft knife to carve the top of the pumpkin.

step 1- carve pumpkin

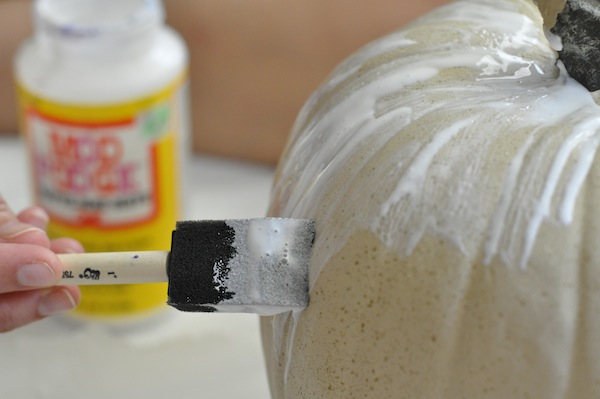
2. Apply Modge Podge in a stripe down the length of the pumpkin where you will be placing your ribbon.

striped pumpkin step 2

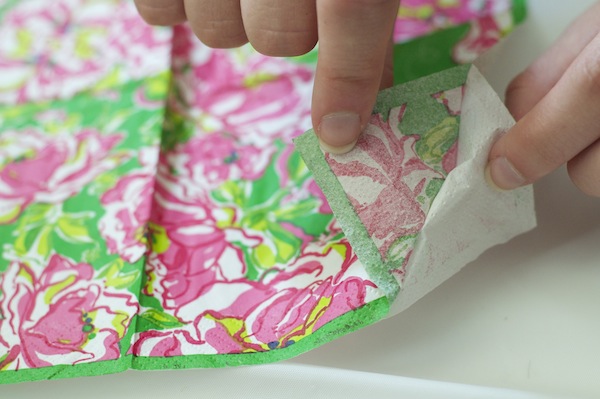
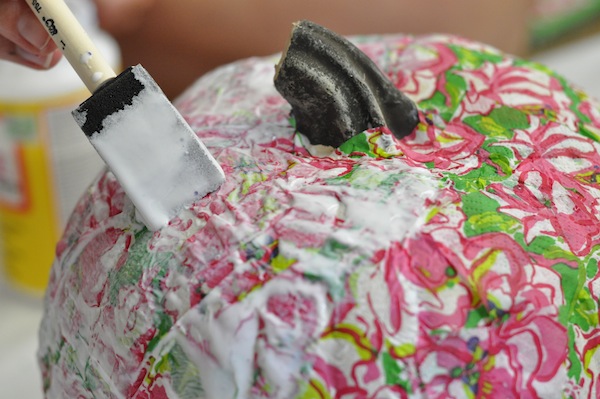
3. Firmly press your ribbon against the Modge Podge and let sit a moment. Then place Modge Podge on top of the ribbon to glue it to the pumpkin (i.e., your ribbon will be glued to the pumpkin from the top and bottom). Let dry completely.

step 3

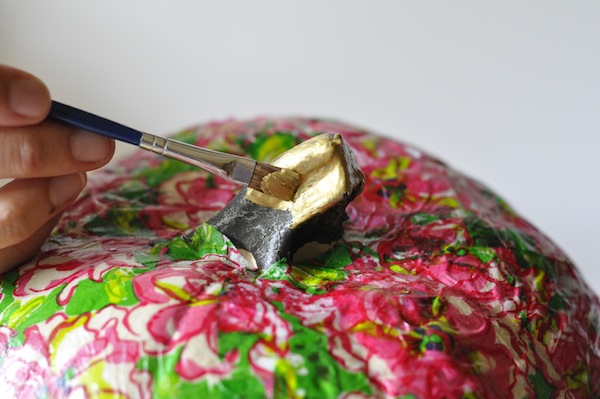
4. Paint the stem gold.

striped pumpkin step 4

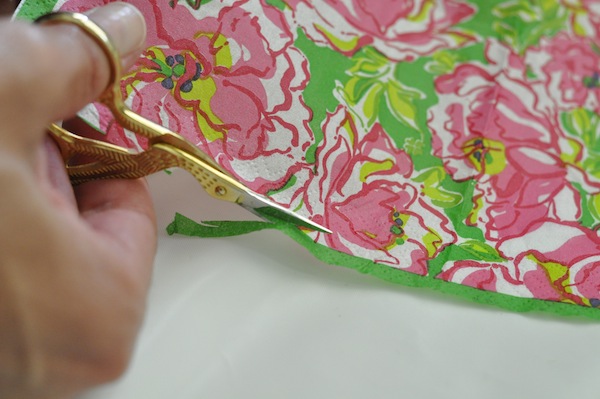
5. Trace a heart to the size and shape of your liking on the back of your glitter paper. Cut out the heart shape, apply modge podge to the back, and apply to the pumpkin.

striped pumpkin step 5

6. Cover the hole inside with heavy paper, or, as we did - place it on a plate, and fill with candy.

7. Enjoy your simple carved striped pumpkin (or make it no carve if you don't want to fill it with candy)! Options: embellish the heart with letters, spiders, or whatever you and your family desire! We like candy, so we labelled it for Treats... chocolate is preferred!

Treat pumpkin

What type of pumpkins are you preparing for Halloween? Carved, no carve, decorated, painted...?

DIY Love Sign

DIYKim & Chloe40 Comments
love-mantel-logo.jpeg

Love Sign DIY Chloe's on a room-cleaning spree... yippee! And part of her new clean look was the desire for a new mantel design, including a love sign. You've seen our past room designs for her, but she's seriously decluttering - again - and wants a look that is simple & elegant, with a little bit of funky. Maybe it's the fall weather and there's such a thing as "fall cleaning," but I asked no questions and she's on a roll!

There are no big changes in the air, just simplifying a bit, but for the mantel, she wanted to replace her monogram message board with a love sign by PocketfulofDreamsUK's but we didn't want to spend $400. So, it was time to be inspired and DIY! We were surprised how easy this project turned out to be, and are already thinking of other projects similar to her new love sign.

DIY love sign supplies

Supplies:

  • wooden letters *
  • gold discs - we used 40 mm sequins
  • gold thumb tacks
  • gold Krylon paint

love sign mantel

Steps:

1. Sand and prime your wooden letters. Then spray them, making sure to cover sides as well.

2. Starting at bottom, cover letters with discs and thumb tacks. Push thumb tacks 1/2 way the top hole only in so discs can move freely side to side (movement gives it a 3-dimensional quality that makes it more interesting).

3. Add a new row directly above the bottom row, covering the thumbtacks. Where possible, keep the columns and rows straight.

Can you believe - that's it! The only tedious part is that it takes some time to push the thumb tacks in (my thumbs actually got a little sore, so I used a thimble). Other than that, this is a very simple project. Consider it a weekend undertaking and catch up on some movies, football, or a tv series. I have a few I can recommend - any you are liking lately?

* {update 2/19: it seems the wood we used may have changed and it's become almost impossible to push a thumbtack into the wooden letters! If you can't test a thumbtack discreetly before purchasing (in a spot that would not harm it for another purchaser) then we suggest using the exact same idea on CARDBOARD letters. The shape is plainer, but the insertion is easy!}

IF YOU ENJOY THIS: check out our Disco Love Sign & Glitter Lollipops

Lilly Pulitzer Pumpkins

DIYKim & Chloe41 Comments
pinterestphoto-copy.jpg

How to make a cute Halloween Pumpkin

Orange and black are so typical for a Happy Halloween, Is it possible... can we actually make it pink and green?

If you like Lilly Pulitzer pumpkins as much as we do you can! Just follow these simple steps and soon you'll be a fan,

Grab a pumpkin (fake's fine) your fave print too, And follow along as we tell you exactly what to do!

lilly pulitzer pumpkin supplies

Supplies needed:

  • 1 craft pumpkin in a light color (or paint a regular craft pumpkin a light color) - don't worry this is a no carve pumpkin idea!
  • Lilly Pulitzer Napkins or Lilly Pulitzer patterned paper
  • Modge Podge
  • Sponge Paint Brush

Step 1 Lilly Pulitzer napkins

Take your Lilly Pulitzer napkins (or any napkins will do - just pick a favorite print!) and peel off the white backing. Ours were 3-ply, meaning there were 2 white pieces on back of the colored print.

2 cut trim

Cut off the trim around the edge of the napkin and cut the napkin into 2" strips.

modge podge pumpkins

Apply a liberal coat of Modge Podge to your craft pumpkin. Then very carefully apply the strips of the napkin from the top of the pumpkin to the bottom of the pumpkin all the way around the pumpkin. Overlapping a bit is fine, but be sure not to leave any spaces between each strip.

modge podge over paper on pumpkin

Apply a coat of Modge Podge to the top of the napkin strips or paper strips once they have been applied and the first layer has somewhat dried. Let this layer dry and apply more to any bits that might be sticking up.

lilly pulitzer pumpkins

At the last minute, we decided to paint the stem metallic gold using our Martha Stewart paint, since a dull brown stem didn't do our pink and green any justice!

Halloween no carve pumpkins

And voilà... you are done and have a pink & green Halloween... or a colorful Halloween in whatever patterns or Lilly Pulitzer pumpkins colors you have chosen!

Want a more tradition orange and black pumpkin.. then check out our black and white stripe pumpkin.

For more inspiration, here are cute ideas my friends have for Halloween: